


Kubernetes Probe:
Kubernetes probe acts as a guardian, It continuously monitors the health status or does health checks on pods, containers & hosted applications.
Types of Probe:
Kubernetes provided three types of probes.
a) Liveness Probe
b) Readiness Probe
c) Startup Probe
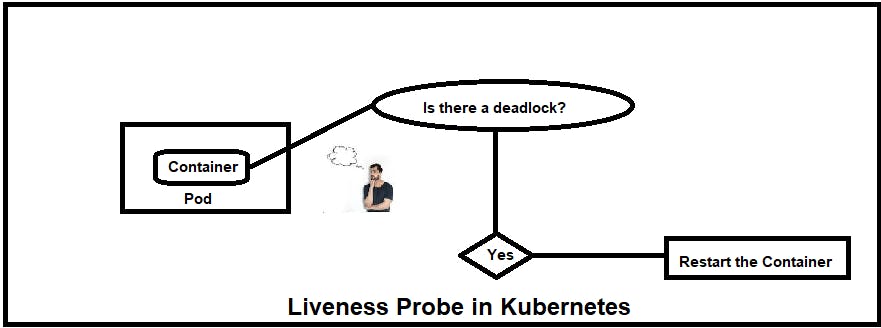
Liveness Probe:
In Kubernetes, the Liveness Probe is a vital tool for monitoring and ensuring the health of a container. This mechanism is designed to verify the proper functioning of the application within the container. If the application is found to be malfunctioning, the Liveness Probe triggers the recreation of the associated pod.
By default, Kubernetes checks whether pods are running to determine their health. However, the ultimate objective is the successful deployment of the application, which resides within the container. Therefore, the key focus is on validating the operational status of the application within the container and taking corrective actions if necessary.
For Checking the application, use commands application-specific if the commands succeed successfully it gives output as 0 otherwise, it gives a non-zero value. In that case, Kubelete recreates a new pod.
The Liveness Probe works on the Container Level. If the liveness probe fails, the container is considered unhealthy, and the container runtime or orchestration system may take action, such as restarting the container.
❄Tasks:
Deploy an application and apply a health check on it by using a liveness probe.
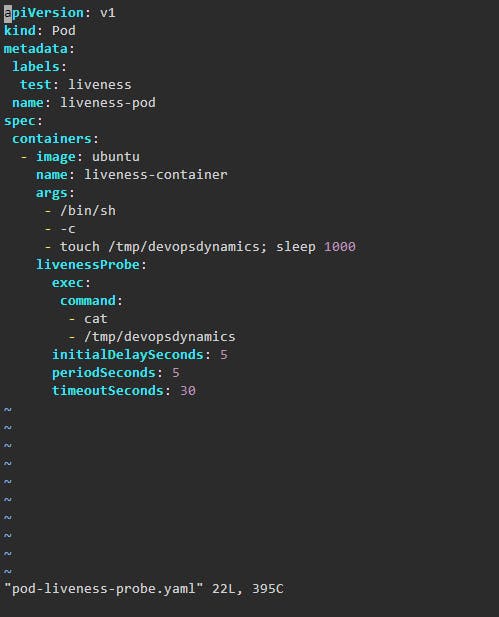
Step 1: Create one deployment file with liveness Probe Configuration.
deployment_file: liveness_probe.yaml
Step 2: Apply this yaml file and Verify deployment is done successfully.

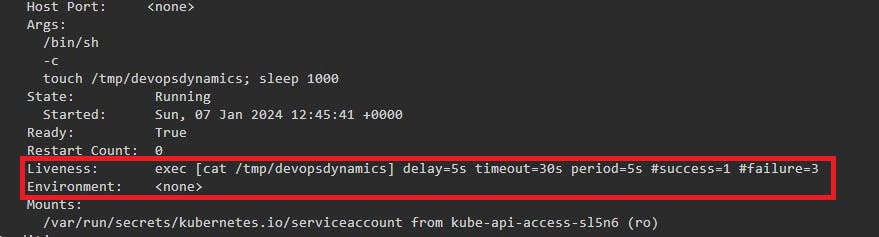
Step 3: Now Check the Liveness probe configuration by describing this pod.
Step 4: Go inside the pod and check the output of the command whether it's zero or not.
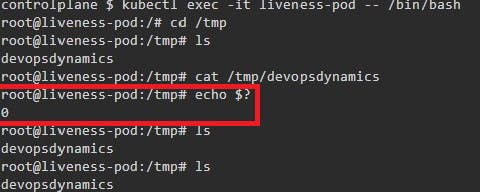
It's working fine.
Let's delete this file and check whether the liveness probe recreates the pod or not. if the condition is not fulfilled.
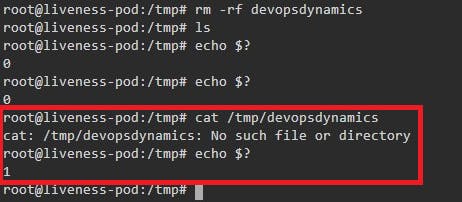
Now the file is deleted, and Output is coming 1.
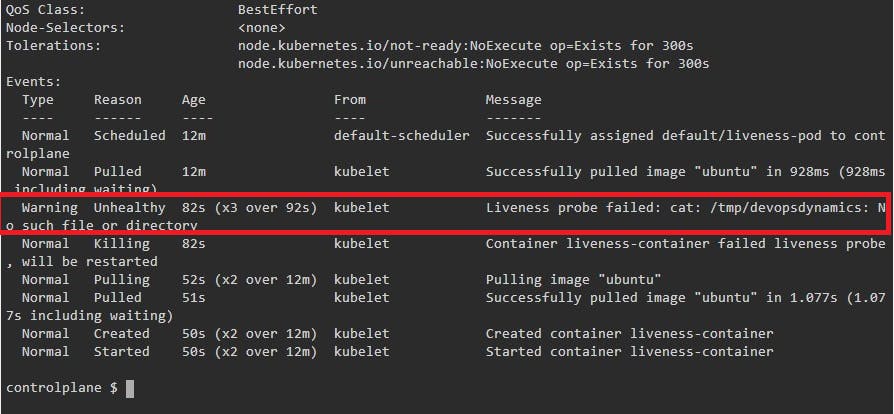
Step 5: Describe the pod by using describe the command.
Readiness Probe:
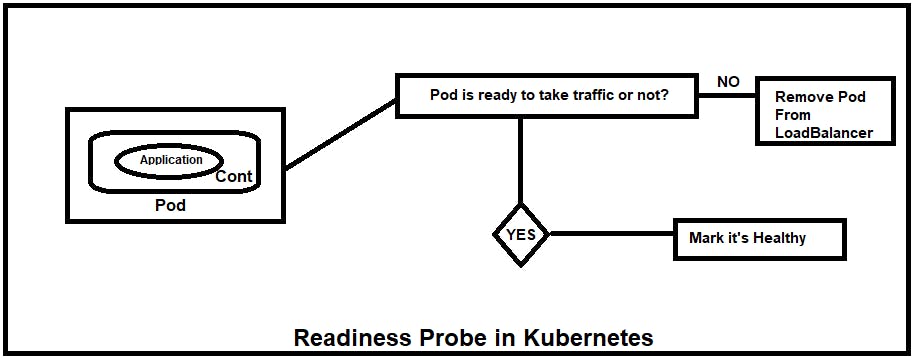
The readiness probe is responsible for the whole pod. You can consider it as a gatekeeper for incoming traffic. It checks pod is ready to take traffic or not.
If the Pod is ready to take traffic it informs to k8s cluster, that it's ready to take traffic and marks it as healthy, and if not it informs, that the pod is not ready to remove this pod from the load balancer.
❄Tasks:
Deploy an application and apply a health check on it by using the readiness probe.
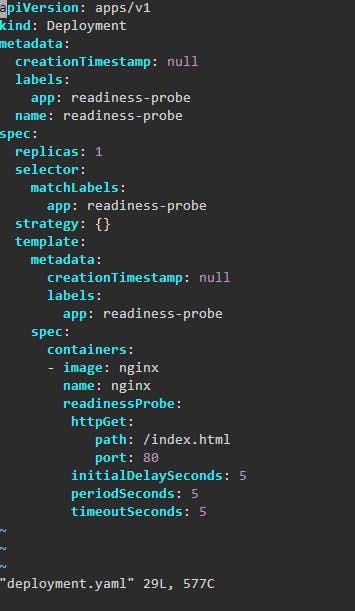
Step 1: Create a deployment.yaml with readiness probe configuration.
deployment_file: readiness_probe.yaml
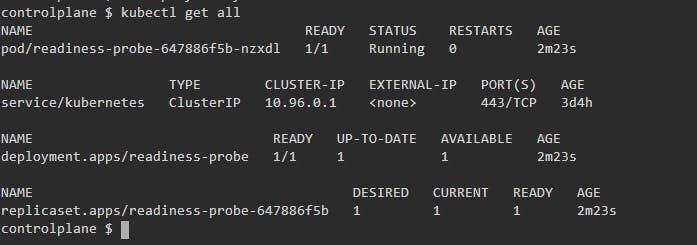
Step 2: Apply the configuration and Verify deploy successfully or not.
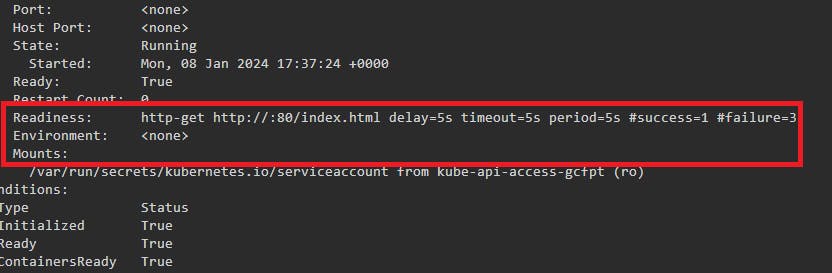
Step 3: Verify Readiness Probe Configuration.
Step 4: Let's change the path in deployment.yaml for verify readiness probe is working or not.
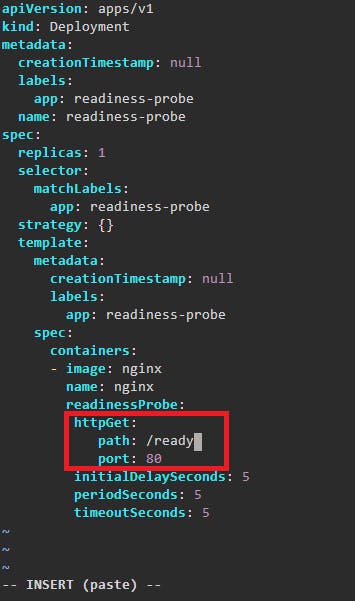
Step 5: Apply again your deployment.yaml and check whether it's deployed successfully or not.
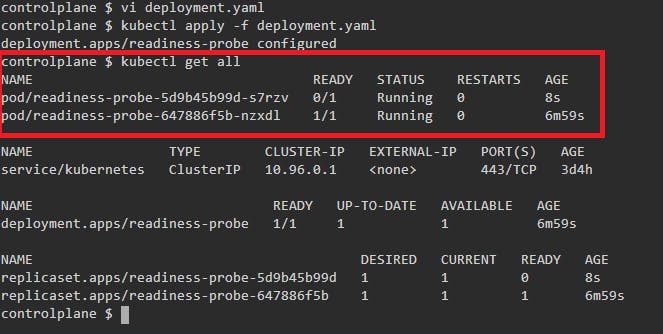
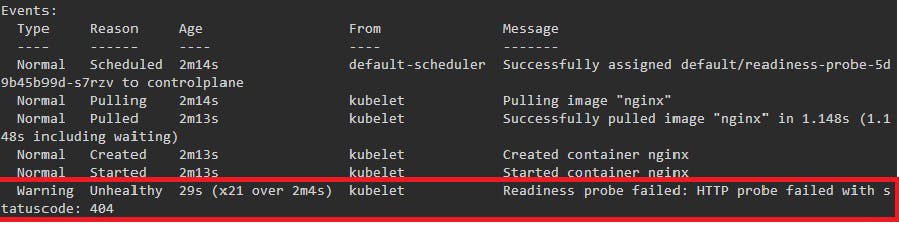
It's not deployed successfully. Let's describe the pod and check the issue.
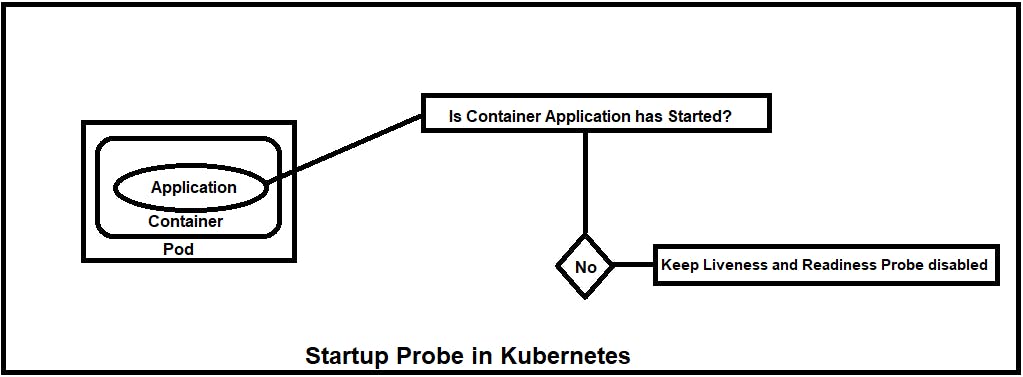
Startup Probe:
Startup Probe is applied to an Application that is running inside the container. It applies health checks on containerized applications.
It checks whether the application is running inside the cluster or not. If not recreate the pod again and also disable the liveness and readiness probe.
❄Tasks:
Deploy an application and apply a health check on it by using the startup probe.
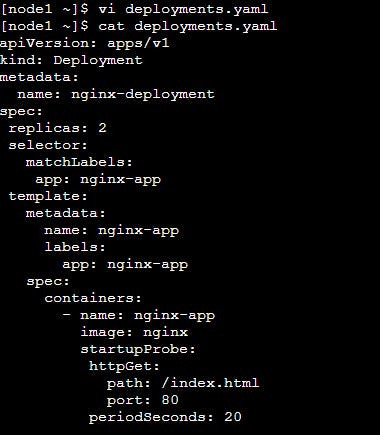
Step 1: Create a deployment.yaml with startup probe configuration.
deployment_file: startup_probe.yaml
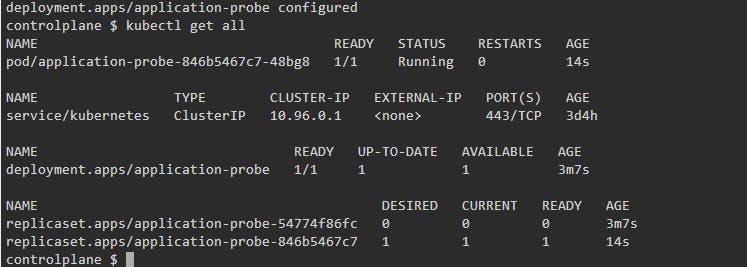
Step 2: Apply the configuration and Verify deploy successfully or not.
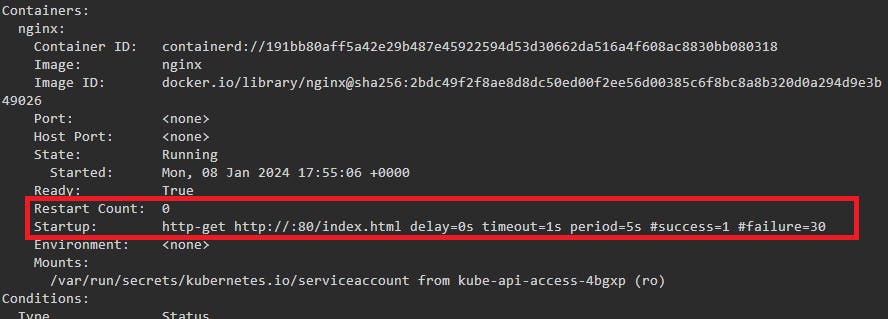
Step 3: Describe the pod check application probe configuration.
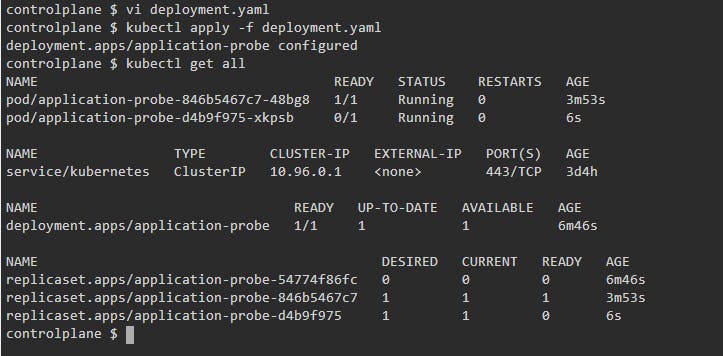
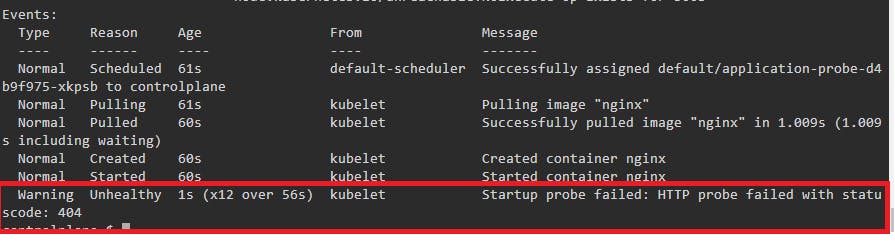
Step 4: To verify this startup probe, let me change the hostpath in deployment.yaml and apply again.
Thank you for giving your precious time to read this blog/article and if any suggestions or improvements are required on my blogs feel free to connect on LinkedIn Unnati Gupta. Happy Learning 💥🙌***!!!***