

Jenkins Declarative Pipeline with Docker

👨💻 DevOps Architect @ Hippo Technik, LLC Passionate about bridging the gap between development and operations, I'm a dedicated DevOps Engineer at 6D Technology. With a strong belief in the power of automation, continuous integration, and continuous delivery, I thrive in optimizing software development pipelines for efficiency and reliability. 🚀 Exploring the DevOps Universe In my articles, I delve into the fascinating world of DevOps, where I share insights, best practices, and real-world experiences. From containerization and orchestration to CI/CD pipelines and infrastructure as code, I'm here to demystify the complex and empower fellow developers and ops enthusiasts. 📝 Blogging for Knowledge Sharing As a tech enthusiast and a lifelong learner, I'm committed to sharing knowledge. My articles aim to simplify complex concepts and provide practical tips that help teams and individuals streamline their software delivery processes. 🌐 Connect with Me Let's connect and explore the ever-evolving landscape of DevOps together. Feel free to reach out, comment, or share your thoughts on my articles. Together, we can foster a culture of collaboration and innovation in the DevOps community. 🔗 Social Links LinkedIn: https://www.linkedin.com/in/unnati-gupta-%F0%9F%87%AE%F0%9F%87%B3-a62563183/ GitHub: https://github.com/DevUnnati 📩 Contact Have questions or looking to collaborate? You can reach me at unnatigupta527@gmail.com Happy Learning!!
#90daysdevopschallenge
#day27
If you are new to Jenkins then Please go through from basic:
Docker build: you can use sh 'docker build . -t <tag>' in your pipeline stage block to run the docker build command. (Make sure you have docker installed with correct permissions.
Docker run: you can use sh 'docker run -d <image>' in your pipeline stage block to build the container.
How will the stages look
stages {
        stage('Build') {
            steps {
                sh 'docker build -t chanchal8765/jenkins-docker-image:latest'
            }
        }
    }
Task-01
Create a docker-integrated Jenkins declarative pipeline. Use the above-given syntax using sh inside the stage block. You will face errors in case of running a job twice, as the docker container will be already created, so for that do task 2
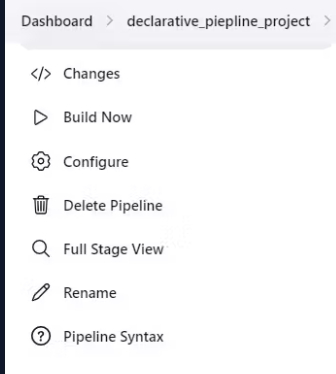
Step 1: Create a new job.

Step 2: Enter the name of the pipeline and select "pipeline".

Step 3: Write the Script for the pipeline and click on "Save".

Step 4: Run the pipeline by clicking on "Build Now".
Step 5: After running the pipeline Check the Console Output.
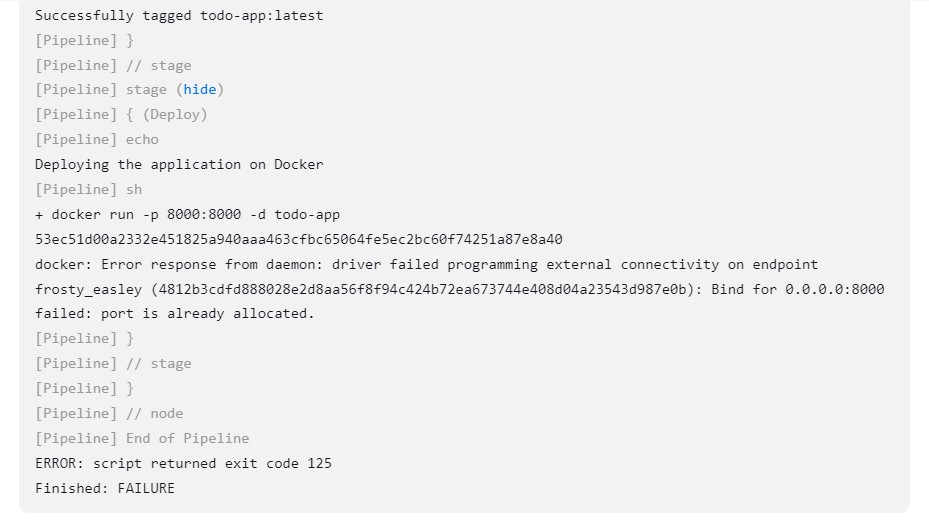
It's failing because that port is already assigned to a particular container.
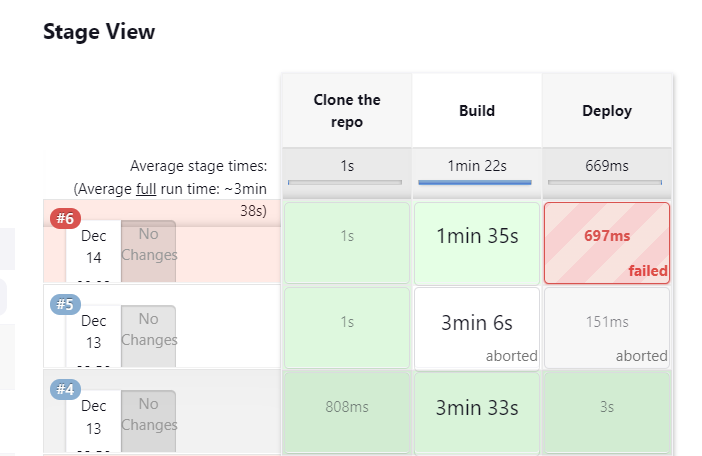
Step 6: Pipeline Status "failed".
Task-02
Create a docker-integrated Jenkins declarative pipeline using the docker Groovy syntax inside the stage block. Complete your previous projects using this Declarative pipeline approach.
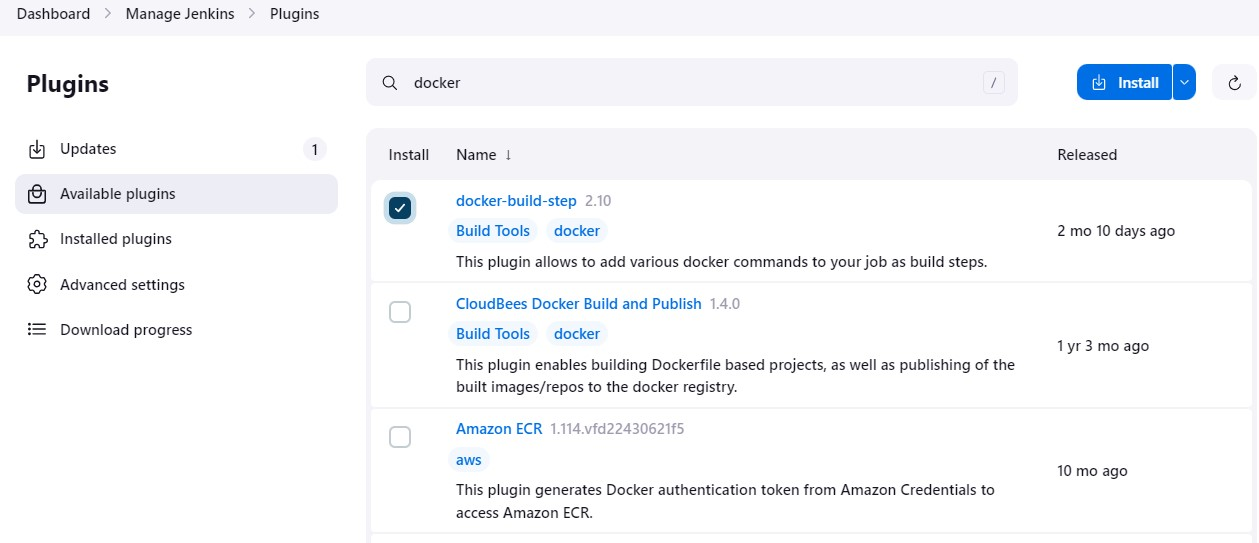
Step 1: For running the pipeline with docker groovy syntax, required to install plugins related to docker.
Go on Dashboard --> Manage Jenkins --> Plugins --> Click on Serach --> Search docker --> Click on checks --> Click on "Install"
Step 2: Go to pipeline with the same job and use this after that click on "Save".

Step 3: Run the pipeline by clicking on "Build Now".
Step 4: Check Pipeline Status.

Congratulations! Now you can run your pipeline multiple times. It's not giving an error even container exists.
In the Next Article will read more about Jenkins Agent.
Thank you for giving your precious time to read this blog/article and if any suggestions or improvements are required on my blogs feel free to connect on LinkedIn Unnati Gupta.


