Table of contents
What is WordPress?
WordPress is an Opensource Content Management System. It's a popular tool for anyone, without any coding experience, anyone can build websites and blogs.
This software is freely available in the market, Anyone can create a website.

📃Task: Deploy WordPress website on AWS
We are going to deploy a WordPress website on AWS. So Please create an account on AWS if you don't have
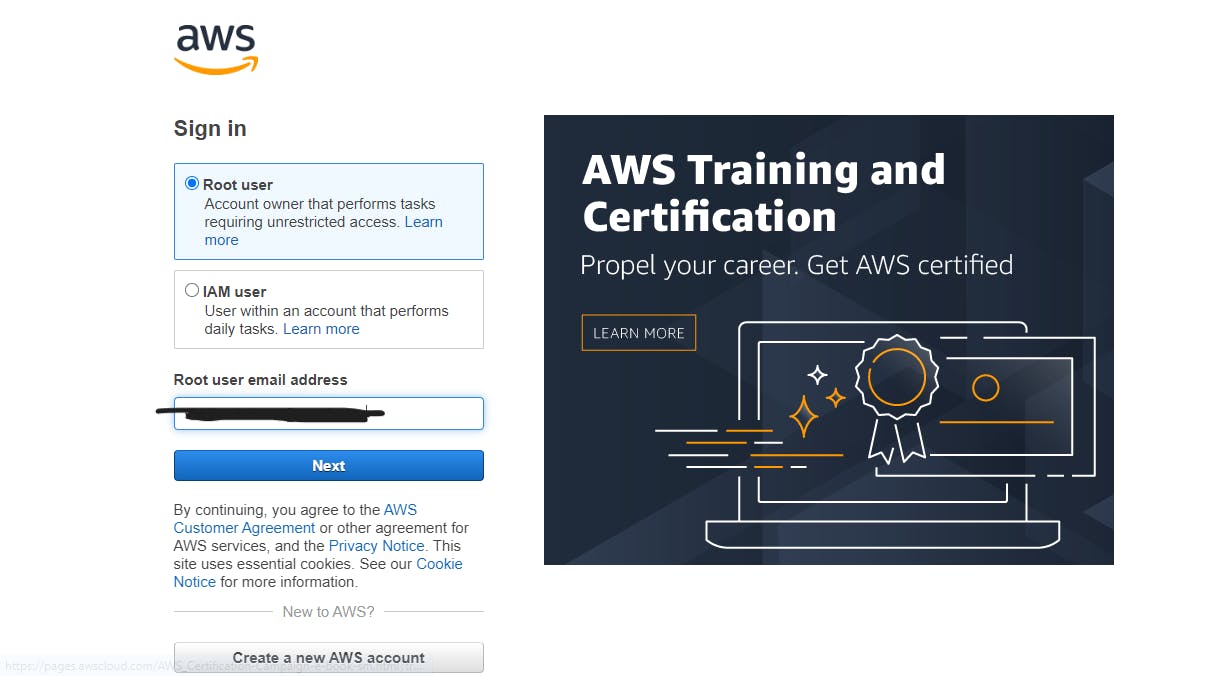
Step 1: Log in to AWS by using the root user.

Step 2: Create an EC2 Instance for deploying your website.

Step 3: Now give the name to EC2-Instance and Launch it.

Step 4: Choose the Security group and Click on Launch Instance.

Step 5: Go to the search bar of AWS, search RDS, click on that, and create a new database.

Step 6: Now Give a name to the database and select one database.


Step 7: Click on "Create Database" to create the database.

Step 8: Verify whether it's created successfully or not.

Step 9: Check the Security group add for HTTP and HTTPS upcoming traffic.

Step 10: Access the EC2-Instance. By using the ssh command.

Step 11: Install MySQL on EC2-Instance, and verify whether it's installed successfully or not.

Step 12: Check the version of MySQL.

Step 13: Connect to MySQL Client Create one User in the database and grant all access.
Please remember the user name and database name. It's required to give the same name during the connection created between WordPress and the database.
# connect to mysql client
sudo mysql -h database-1.cjmn0fa8hcg3.ap-south-1.rds.amazonaws.com -P 3306 -u admin -p

# Create a User in database, give permission to access wordpress website.
CREATE USER 'wordpress' IDENTIFIED BY 'wordpress-pass';
GRANT ALL PRIVILEGES ON wordpress.* TO wordpress;
FLUSH PRIVILEGES;
SHOW Databases;
Exit

Step 14: Move Forward to the next step, Going to install Apache Server for deploying the website.
# Install Apache server
sudo apt update
sudo apt install apache2

Step 15: By using the Public IP of EC2-Instance Access the web page.

Step 16: Install the WordPress tar file on your EC2-Instance and Untar it, copy all the files of the WordPress directory to /var/www/html location. Then make a copy wp-config.php file for editing and give the configuration of the database.
# Install WordPress tool in EC2-Instance
wget https://wordpress.org/latest.tar.gz
# Untar the file
tar -xzf latest.tar.gz
# Change the folder and copy wordpress file in /var/www/html location and make copy of configuration file for editing
cd wordpress
cp wp-config-sample.php wp-config.php
# Install some require package
sudo apt install php libapache2-mod-php php-mysql -y

Step 17: Inside the wp-config.php file, give two configurations:
a) for database settings:
// ** MySQL settings - You can get this info from your web host ** //
/** The name of the database for WordPress */
define( 'DB_NAME', 'database_name_here' );

/** MySQL database username */
define( 'DB_USER', 'username_here' );

/** MySQL database password */
define( 'DB_PASSWORD', 'password_here' );

/** MySQL hostname */
define( 'DB_HOST', 'localhost' );

b) Authentication Unique key and salts:


Step 18: Access the website by using Public-IP of your EC2-Instance.

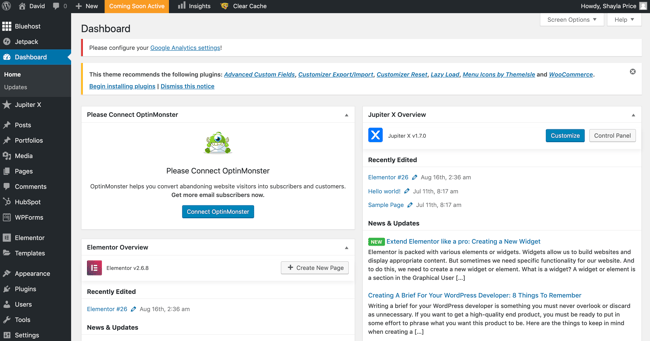
Step 19: Login inside and create your website.

Thank you for giving your precious time to read this blog/article and if any suggestions or improvements are required on my blogs feel free to connect on LinkedIn Unnati Gupta. Happy Learning 💥🙌***!!!***

