If you don't know about Jenkins and also don't know about the "Freestyle Project in Jenkins" Please go through the below article:
https://hashnode.com/edit/clnlldg6700030al28gfjerv2
Task-01
Fork this repository:
Click on this "Fork" button.

After that check your GitHub account repository present on your account. If it's present then Congratulations "Successfully done".
Create a connection to your Jenkins job and your GitHub Repository via GitHub Integration. Read About GitHub Webhooks and make sure you have a CI/CD setup.
Step 1: First deploy Jenkins on AWS. I already deployed it in my previous article. Please go through my previous article.
https://hashnode.com/edit/clnlldg6700030al28gfjerv2

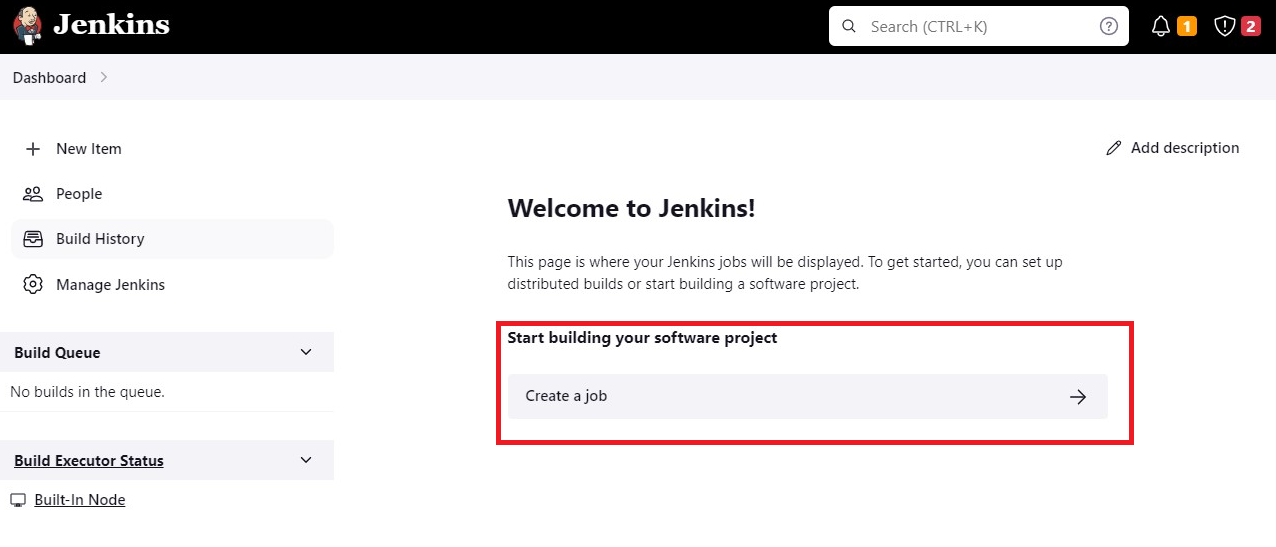
Step 2: Create a Job on Jenkins and add it to "freestyle Project".

Step 3: Add your "GitHub Repository" Link and then click on the "Add" section then click on "Jenkins":

Step 4: Generate the public key and private key by using "ssh-keygen".

Step 5: fill in all the information.

Step 6: Copy your private key and paste it here: (The main purpose of this step is to connect your GitHub account to Jenkins).


Step 7: Add your public key on your GitHub to connect the EC2 instance to your GitHub.


Step 8: Copy your public-key and paste it in the below section.

Step 9: Check it's successfully done.

Step 10: Now run your pipeline. Click on "Build Now".

Congratulations!! your pipeline running successfully.
Task-02
In the Execute shell run the application using Docker Compose. You will have to make a Docker Compose file for this Project.
Step 1: Create again a new job as "Freestyle Project".

Step 2: Check your Dockerfile and docker-compose.yml.

Step 3: Here try to run the node.js application. Install npm in your system.


Now run your application.

Step 4: docker-compose.yaml

Step 5: Now put the command in the execute shell.

Step 6: Run your pipeline, and click on "Build Now".


Step 7: Check docker images on the environment.

Step 8: After running your pipeline Successfully.

In the Next Article, we will explore Jenkins......
Thank you for giving your precious time to read this blog/article and if any suggestions or improvements are required on my blogs feel free to connect on LinkedIn Unnati Gupta. Happy Learning !!!

